Quilt Prep Checklist – Part 1
Quilt Top, Backing and Batting
Knowing your quilt is ready for your longarm quilter will save them time. Which in turn, saves you money. Anytime a longarm quilter needs to repair, press, or clip threads, they may charge you for their time. So, the better prepared your quilt is, the less it will cost you.
The checklist I created will help you to prepare your quilt for your longarm quilter. Complete the checklist and bring it with you to your longarm quilter. The checklist starts with your name and contact information. Do you have a specific time frame you need the quilt? Do you have a budget? The answers to these questions will assist your longarm quilter.
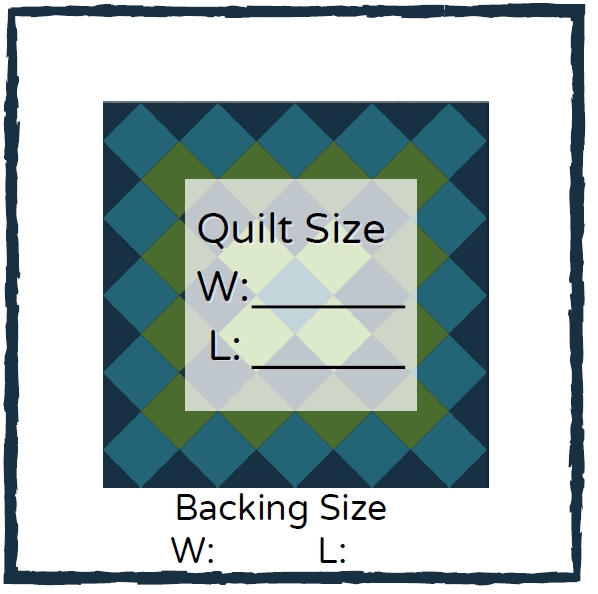
Next, measure your quilt width and length. Measure your backing width and length.
Every longarm quilter has a specific way they prefer quilts to be prepared. So, check with them to see what they require.
From here on in I will refer to a longarm quilter as a LAer.
Your Quilt Top
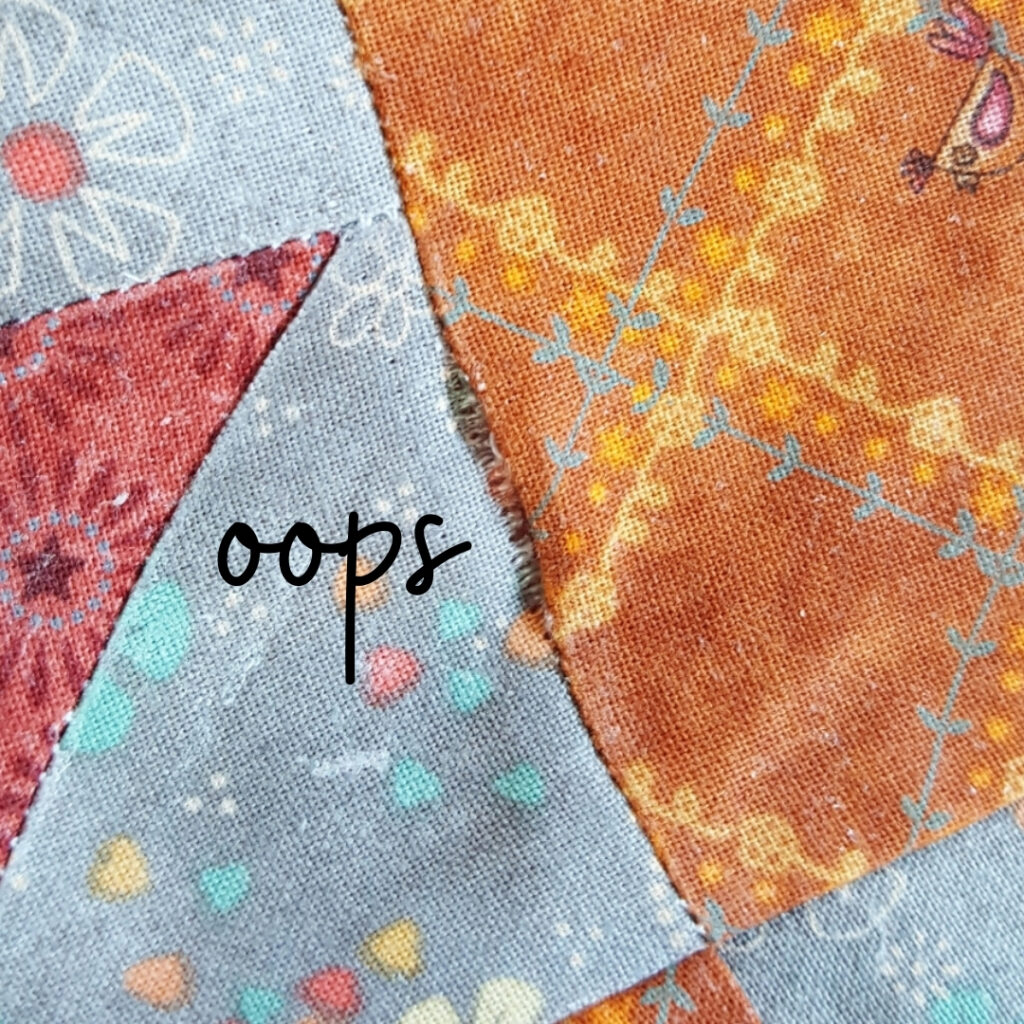
Are you happy with the piecing on your quilt top? In other words, have you double-checked to make sure there are no errors? This has happened to me. Partway through quilting a quilt of my own, I found a couple of blocks were upside-down. If you are not sure, have someone else look at it or take a picture of it. Sometimes when the quilt is reduced in size or converted to black and white in a photo, mistakes pop out.
Double-check that you have no holes in your seams. This is another error that is quite common. And yes, it has happened to me. I find that if the quilt can be held up to a light, the holes become more apparent. But that is not always possible. Try checking as you are pressing your seams. Check from both the front and the back. Fixing them during the construction phase is much easier.

Does your quilt have borders? No? Are your borders pieced? If you have multiple seams coming to the edge of your quilt top, it is helpful to stay stitch the edge. Stitch approximately 1/8” from the edge all the way around your quilt. This will keep the seams from splitting open.
Give your quilt one final pressing before you bring it to your LAer. While pressing, check for holes and clip any loose threads both front and back. This will only help them when working on your quilt.
The Backing
Backing size is important. If there is not enough backing it can make it difficult or impossible to load the quilt top and backing on the quilt frame. This is where you should know what size requirement your LAer prefers. A good rule of thumb is an additional 12” in length and width. So, if your quilt measures 40” x 60”, your backing should measure 52” x 72”.
In addition to size, your backing edges should be straight. Have you ever tried pinning a crooked edge of the fabric to a straight edge? It is not so easy to get a straight seam. This is the same when your backing is not cut straight. It can be hard for your LAer to attach your backing to the quilt frame.
Is your backing square? Are the edges parallel to each other? If you have purchased a wide 108”, do not assume that it is square. Manufacturers of this fabric use a machine to fold the fabric and roll it on to the bolt. This is not a precision operation.
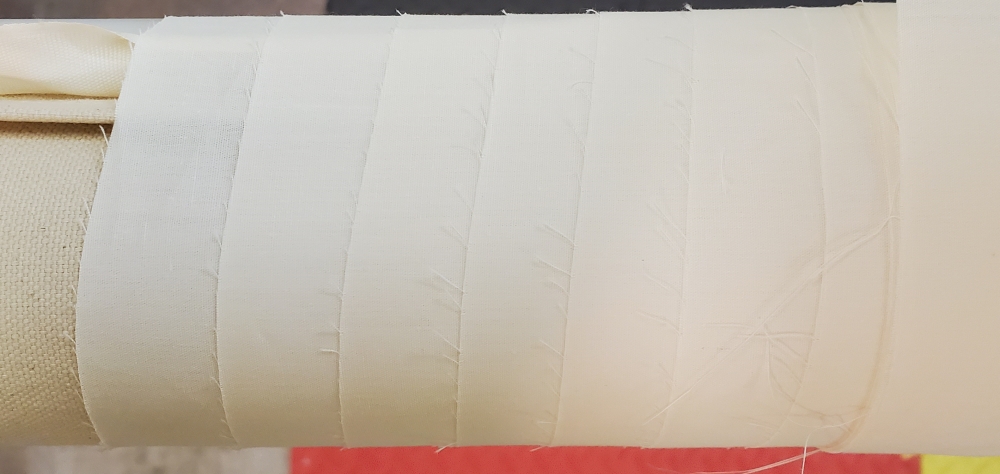
The easiest way to square up fabric is to tear it, that way it will be straight with the fabric grain. If you have good quality fabric the grain should be straight and tearing it is the easiest and fastest way to straighten the cut edge. I generally purchase a half yard more backing fabric than needed. Then I can tear each cut end without shorting myself of backing fabric.
Like your quilt top, give your backing a final pressing.
The Batting
Are you supplying your own batting or are you purchasing it from your LAer?
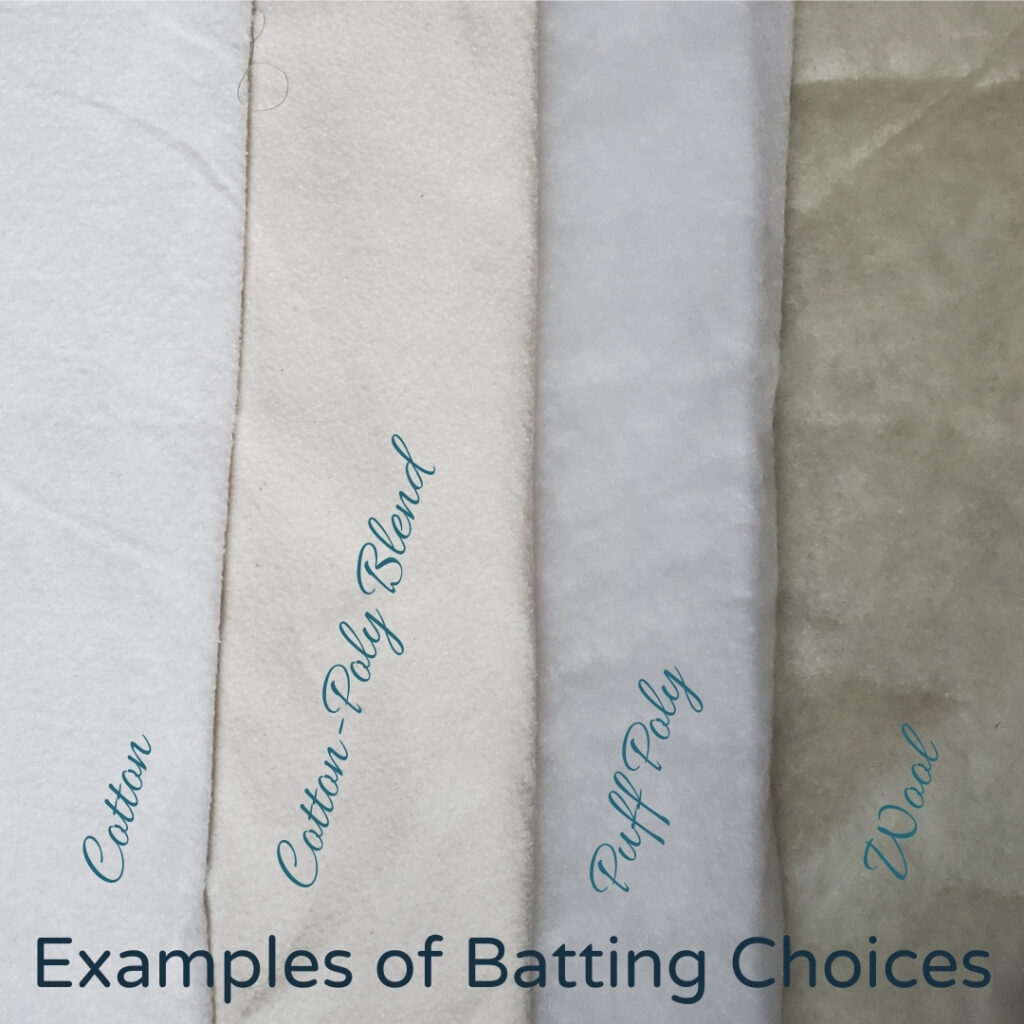
If your LAer is supplying the batting, what type do you want? There are many choices. They may also only carry certain brands and/or fiber content. Check with them to make sure they have what you want. Not sure what you want? Your LAer is a wealth of information. Check with them as to what they have and what they would recommend for your quilt.
If you are supplying your own batting, make sure it is the appropriate size. Generally, it should be the same size as your backing. Some LAers will only accept certain batting brands and/or fiber content. Again, check the requirements of your LAer.
Part 2 will cover design and thread choices.
Let me know if you have any questions.
