I hate replacing zippers in winter jackets. I have done a few and have refused to do any more. If you have done it. You understand why.
First, you have to remove the zipper. Not as easy as it sounds. The zipper is usually stitched and/or serged in at least three times. You have the initial serged seam installing the zipper, then top stitching with one to two rows of stitching. If your lucky, that’s it. But sometimes you have a wind fly behind the zipper. This is a flange behind the zipper to block the wind from getting though.
Once apart, getting it back together and seams lined up is a bear! Just thinking about it makes me cringe.
Of course my husbands jacket needed a new zipper. The zipper kept getting stuck or unzipping from the bottom. Trying to get the slider back down after that happens is near impossible. Luckily, we were able to find a new jacket at the local LL Bean Outlet. Saved me from having to fix it. I kept the old jacket in hopes of figuring out an easier way to replace the zipper.
Fast forward a little over a year or so, the new jacket’s zipper starts having issues. Halfway up, the zipper came apart and we were unable to get the slider back down. I cut the stop off one side. Enabling me to get the slider off. But the jacket now needed a new zipper. I hate replacing zippers! Oh yeah, I already said that.
Since I have been mulling this over for the past year or so. (Read as, putting it off for the last year). Here’s what I did.
First, I cut off the teeth leaving the tape still in it’s original seam.
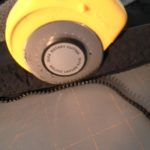
The original zipper tape ends right at the top zipper stop. New zippers extends longer for insertion into seam allowances. I cut off the excess leaving maybe an 1/8″. Using a candle, I melted the end of the tape to keep it from unraveling. Do not put the tape in the flame, just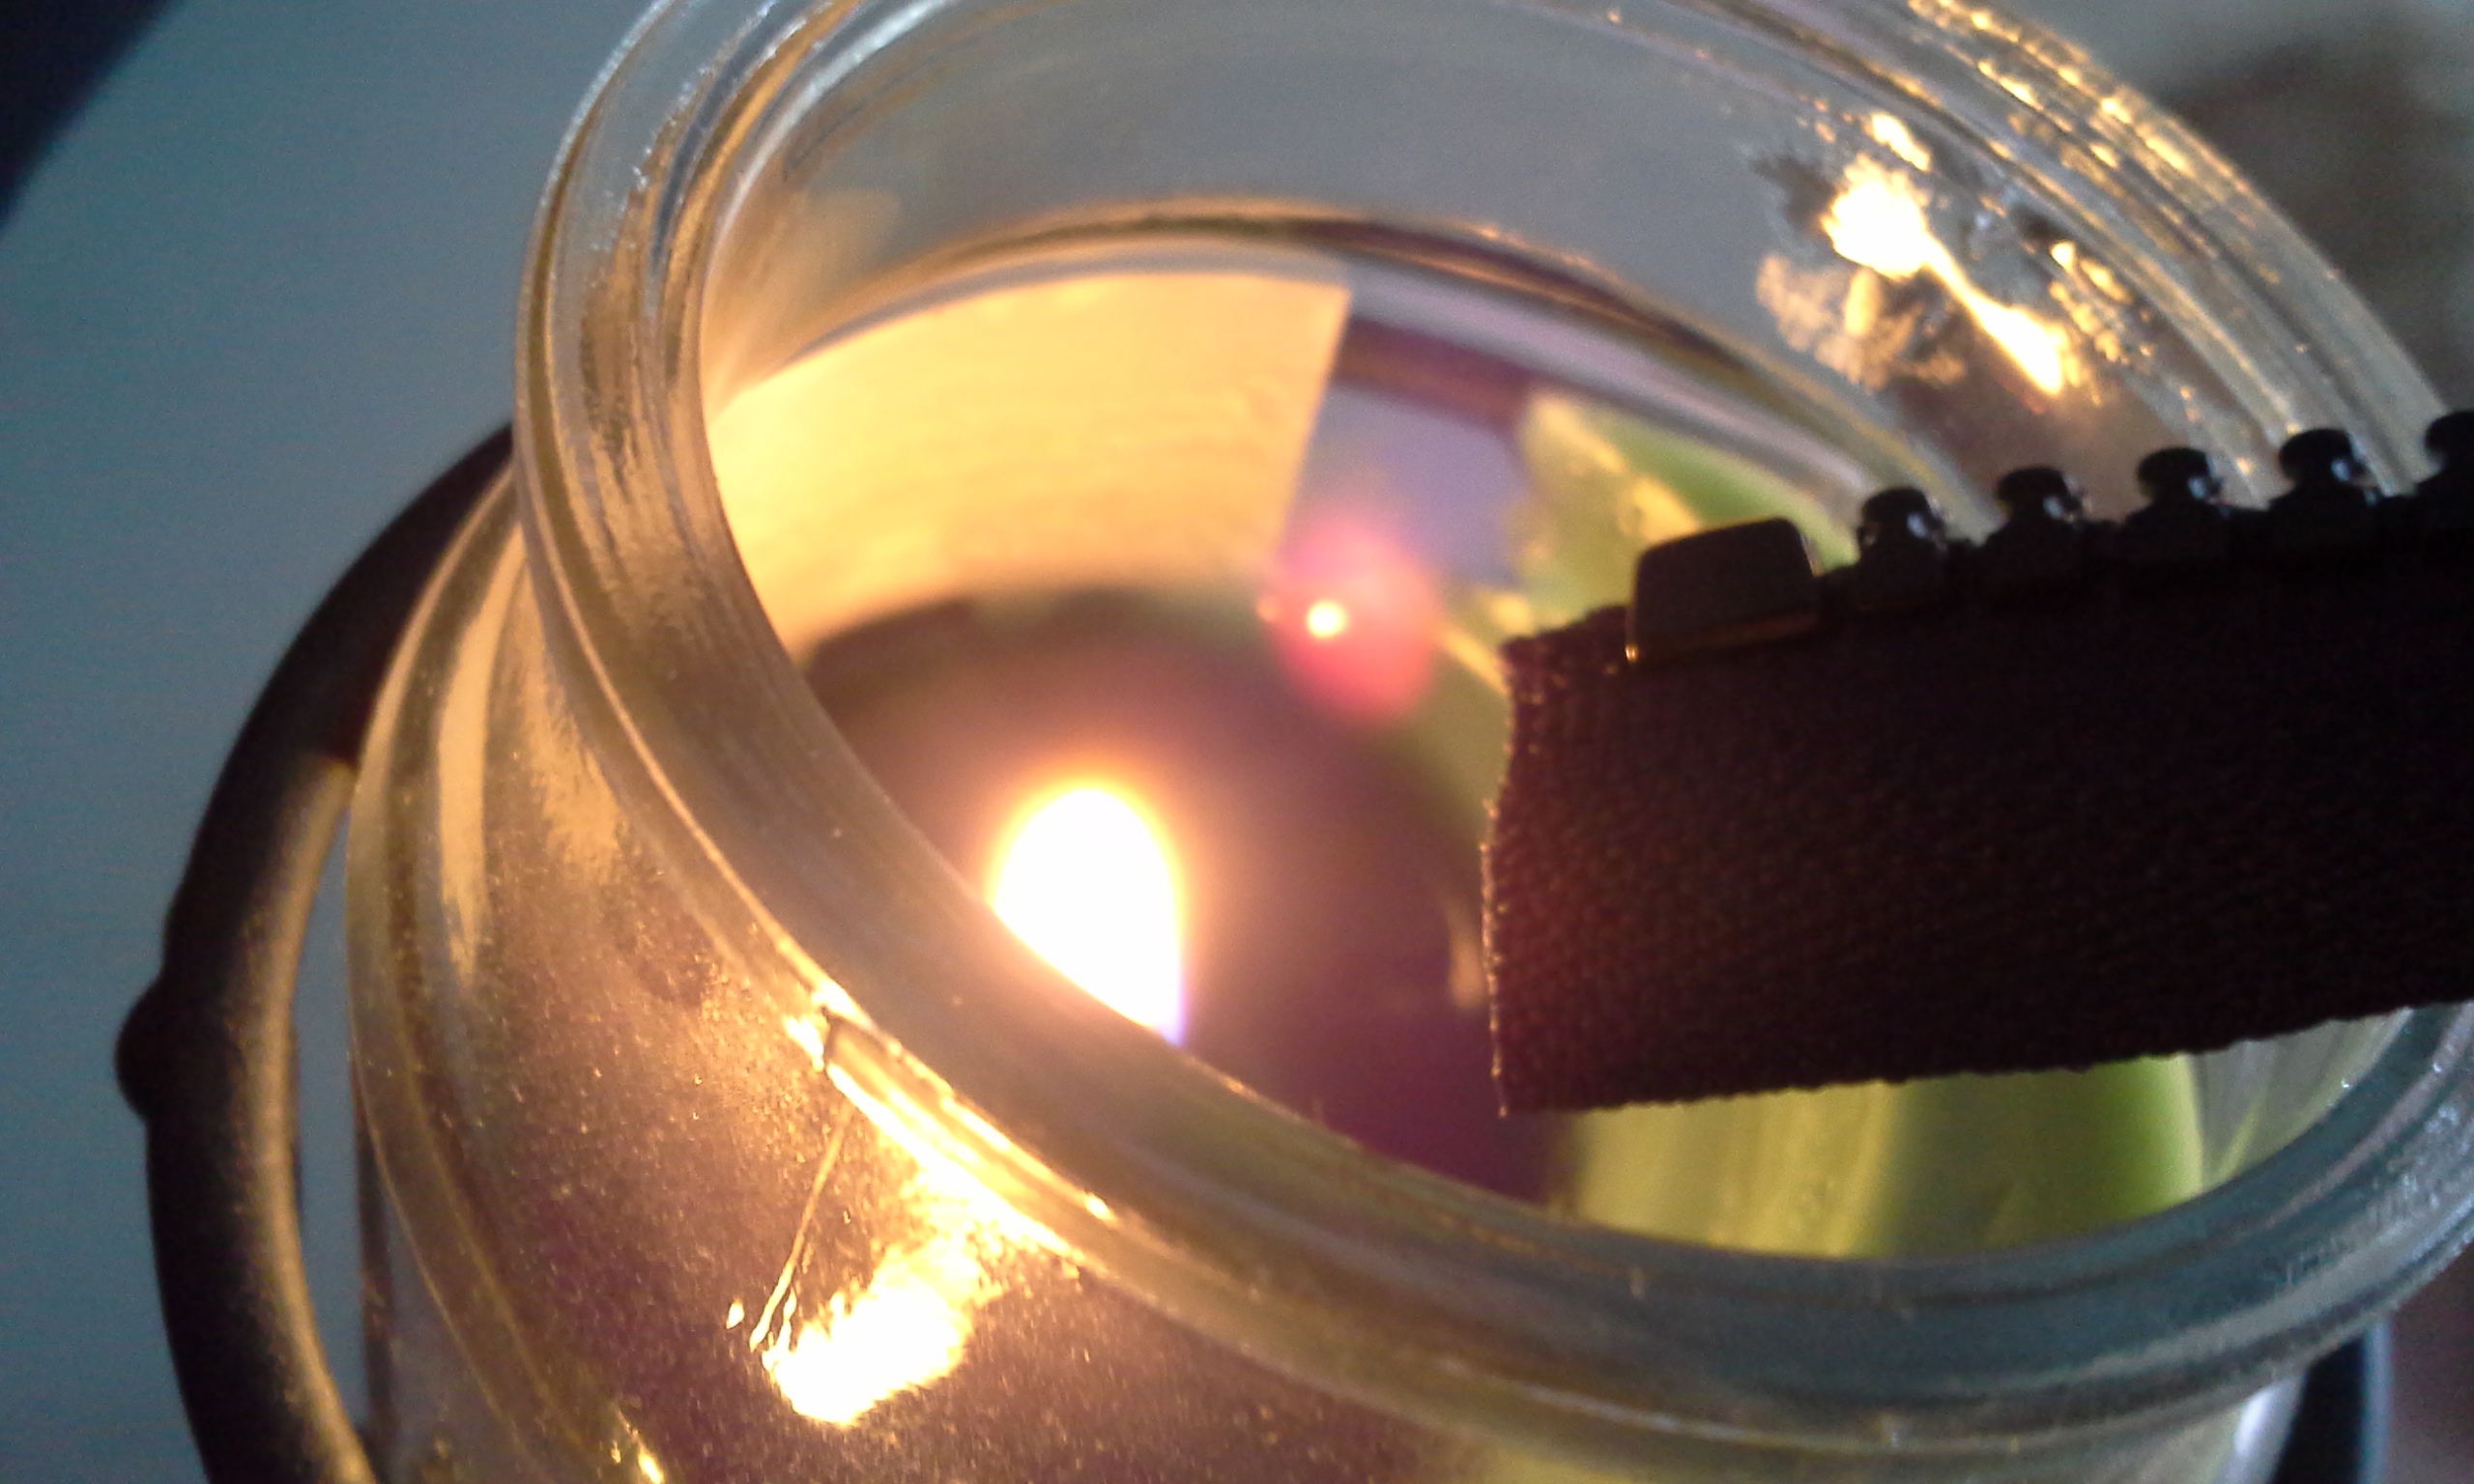 near it. The goal is to melt it, not burn it. Safety first, keep water or a very damp cloth available just in case you set your zipper aflame. DO NOT touch the tape at this point. It is very hot!!
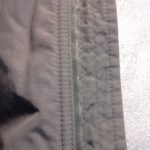
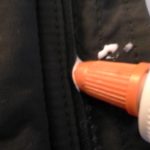
Insert the zipper tape of the new zipper under the zipper tape of the old zipper. To hold the zipper in place I chose to glue the zipper in. I used Elmers, as I had it on hand, but any white glue will do. Make sure the glue will wash out with soap and water. I also tacked the zipper in place with pins to let the glue dry. There are just to many layers here to pin through them all.

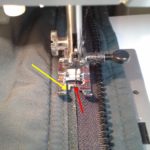
Once the glue was dry, I used a multi-stitch zigzag to stitch the zipper in. This stitch will sew in the zipper and finish off the raw cut edge of the old zipper. I lined up the original seam with the crease in the presser foot. I also lined up the cut edge of the original zipper tape with the red center stitch mark. Back stitching at the beginning and the end to lock in the seam. Stitching through all the layers.
The left side of the jacket has the wind fly, so it was easy to glue the new zipper in. The right side was not. So I with the new zipper under the old zipper tape, I line the seam up as before. The teeth of the new zipper are lined up with the right side of my presser foot. To start, I had the zipper zipped up, aiding on lining up the bottom of the jacket and zipper. Hoping it would stay lined up as I guided the jacket and zipper together. Once I started sewing the seam, I unzipped the zipper and continued on.
For the first zipper, this worked great. But I replaced two zippers. The second jacket did not stayed lined up. The coat itself, stretched as I stitched. You probably could use a walking foot. Not sure how it would work with all those layers. I’ll try it next time. I’m sure it’s not the last zipper I’ll replace.

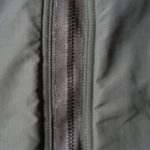
It’s not the best job I’ve done, but they are usable. If your zipper, thread and jacket color match, you can barely notice the repair. If they don’t, you can see the stitches. If you want, you could add some decorative ribbon over the zipper tape to disguise the repair. I don’t think my husband would like that. But he is happy to have two usable jackets.
🙂
C
Very clever! And only taking off the teeth saves so much un stitching! Nice!